
How To Upload 1440p On YouTube?
During the past 10 years, technology has improved at an unexpectedly high scale. With a 5g internet network on the verge of its release, entertainment is all linked to how fast your connection works or how high-quality streaming is available. Similar factors are included in the world’s largest video streaming platform, YouTube. The quality of the video plays an important role in the YouTube video’s views. The time where 1080p video streaming was quite satisfactory is far gone now. Every YouTuber is aiming for his or her content to have an HD quality up to 1440 p.
There are some more specific reasons behind this. When you upload a video of 1080 p on YouTube, the video despite being 1080p loses its pixel, thus lowering its quality a little. Therefore, people are moving towards better HD quality for a better experience which as a result helps in increasing their YouTube Subscribers as well.
There is no complex science in it. It’s basic psychology, you have two similar things available for free, automatically you’ll prefer the one better than the other. Similarly, viewers prefer spending their time on video better not just in content but in display quality as well.
Now, the question arises “How to upload 1440 p on YouTube?” YouTube doesn’t give any option to control the quality of your video directly. Some applications allow you to export your video in 1440p to YouTube.
Uploading your video on YouTube in high quality will increase YouTube likes and increases the growth of your YouTube channel as well.
Some Applications That Help In Exporting 1440p Video To YouTube:
- NCH VideoPad Video Editor
- Adobe Premiere
- Da Vinci Resolve
- Adobe Premiere Pro
Explanation:
NCH VIDEO EDITOR:
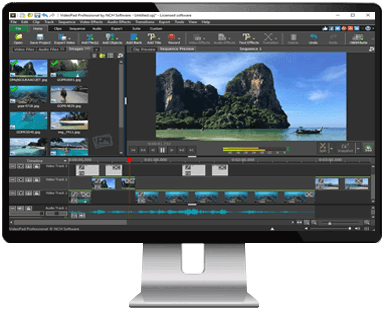
For uploading a video of 1440 p on YouTube through NCH Video Editor, you need to follow the following steps,
- Install NCH VideoPad Video Editor
- Create a Project
- Add the desired Video to the editor
- Drag it to the Timeline
- Select the Export icon
- Choose Video File
- Set the Preset option to 1440p
- Wait for the Export Queue to be completed
- Once done, go to YouTube
- Fulfill all the credentials
- Upload The Video
- After being uploaded, the video will stay in 360p
- Wait for 5 to 10 minutes
- Reload the Video
- Enjoy your content in 1440p
Read More: How to Upload Multiple Videos on YouTube?
Da Vinci Resolve:
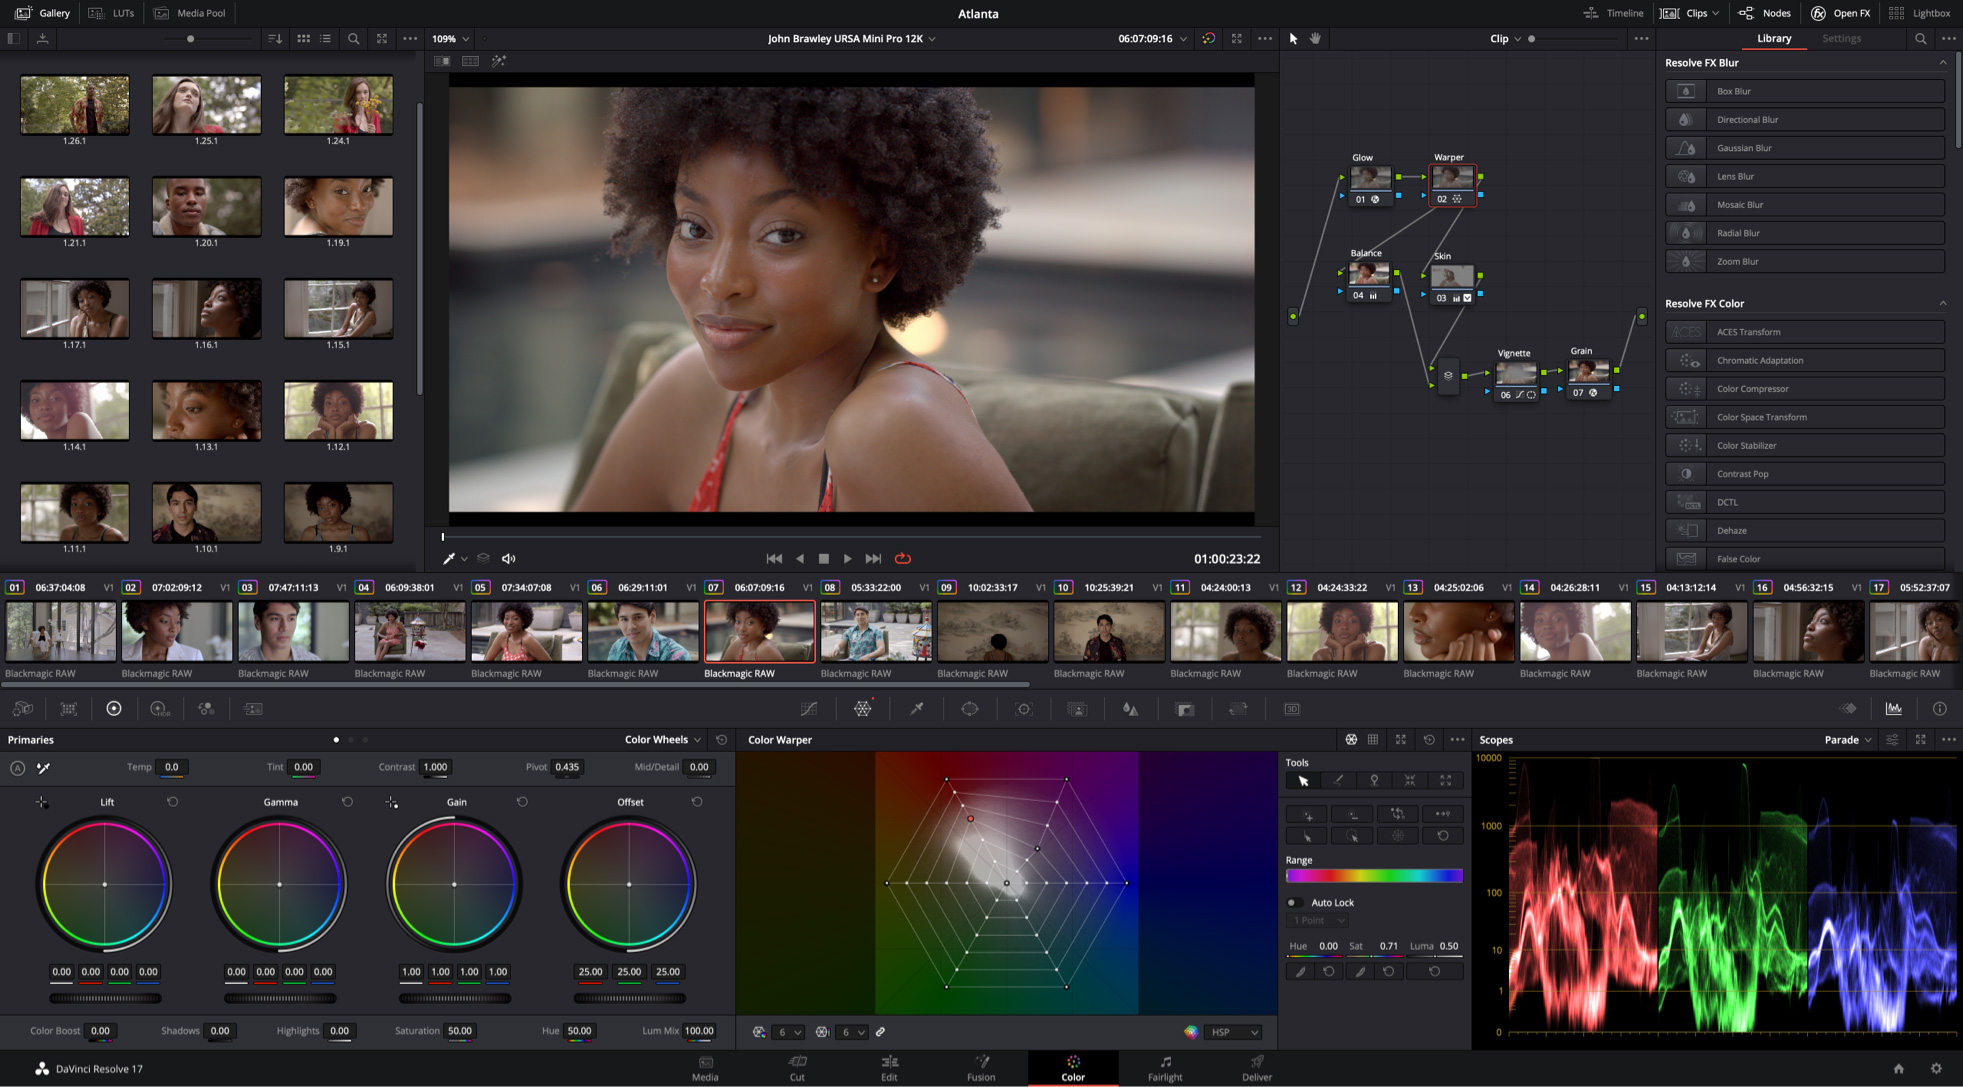
Every software including Da Vinci Resolve have somewhat similar steps to the ones mentioned above. As the primary goal for all these is to export the video in 1440p. For Da Vinci Resolve what one needs to do is,
- Install the software
- Insert the desired video file to the editor
- Click edits
- Add the Video to the timeline
- Click on deliver at the bottom of the screen
- Select Custom
- Set your resolution to 1440p, make sure your file format is MP4
- The final step, export your video and upload it on YouTube.
The better the quality of your video the more YouTube views and shares it will collect. This is the basic monopoly of the internet community. As humans no matter what we are doing we always go for the better. Thus YouTubers, also need to keep up and provide the best displays for their viewers.
More Articles:
How To Make A YouTube Play Button?
Comments